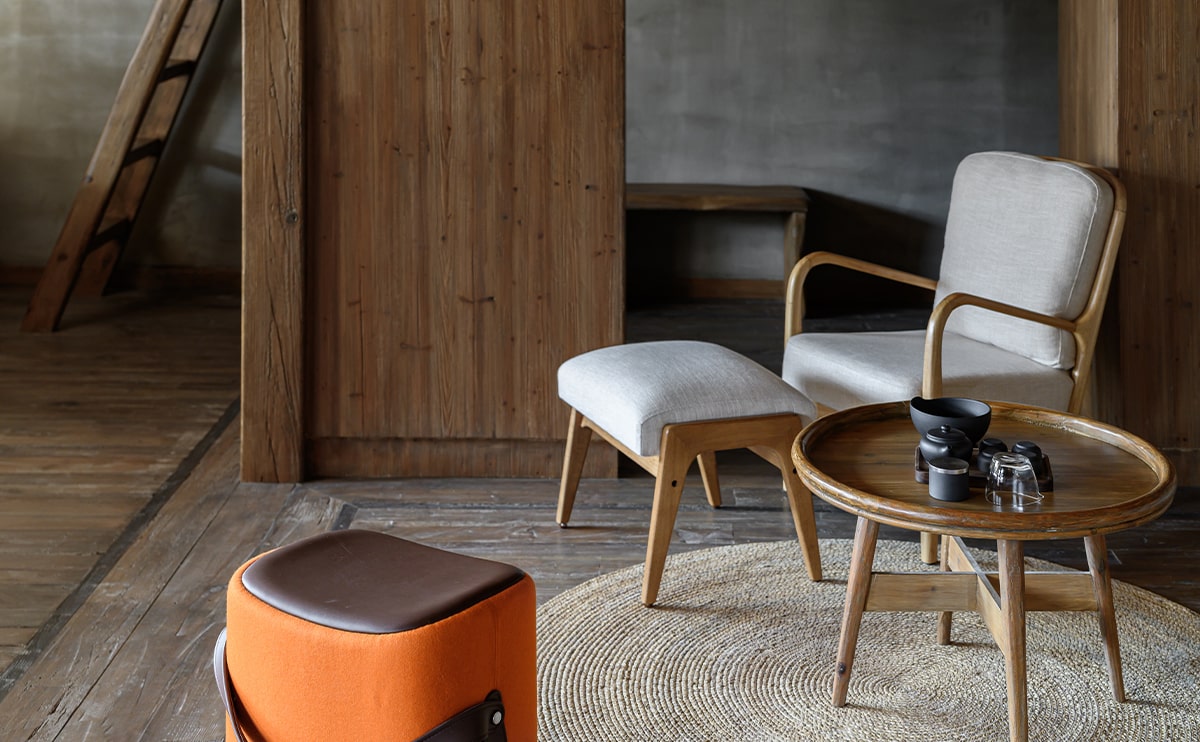


Two desks can look identical in a photograph and behave completely differently after three years of use. One stays square and silent. The other develops a wobble, a swollen edge where a cup was left, and a drawer that catches. The difference is never visible in the listing — it lives in the furniture craftsmanship process behind the piece.
This is how a Stylo Furniture piece is made, stage by stage, and what each stage protects you from.
Stage 1: Material Selection
Everything downstream depends on this. We work primarily with kiln-dried hardwoods, engineered panels with high-density cores, and steel sections selected by gauge rather than by appearance.
Moisture content is the first checkpoint. Timber that arrives too wet will shrink after it is built into a piece, opening joints and cupping panels. Our incoming stock is kiln-dried and tested to a target moisture range appropriate for indoor conditioned spaces, then allowed to acclimatize in the workshop before cutting.
Panels are chosen by core density, not surface. A laminate face tells you nothing about what is underneath. Low-density cores crumble around screws and sag under load across a long span. We specify cores that hold fixings and resist deflection over the widths we build.
Steel is specified by wall thickness. Two frames can share a profile and differ by a millimetre of wall thickness, which is the entire difference between a rigid desk and one that racks when leaned on.
Boards with knots, checking or grain runout in structural positions are rejected here rather than discovered later. It is cheaper to reject a board than a finished desk.
Stage 2: Cutting and Machining
Components are cut on calibrated machinery with fixed setups, so the hundredth piece matches the first. Tolerances are held tight for a practical reason: an error of a millimetre at each of four joints becomes a visible gap and a structural weakness by the time the frame is assembled.
Edges are profiled before anything else happens to them. Sharp arrises are eased so the finish adheres properly and the edge does not chip in transit or in use.
For panel products, edges are banded under heat and pressure with material matched to the face. Edge banding is where cheap furniture gives itself away fastest — a poorly bonded edge lifts within a year, lets moisture into the core, and swells. Every banded edge in our process is trimmed and buffed, then inspected by hand.
Stage 3: Joinery
This is the stage that decides how long the piece lasts.
Where a joint carries structural load, we use mechanical joinery — mortise and tenon, dowelled and glued assemblies, or engineered knock-down fittings rated for repeated assembly. Where a piece is designed to be shipped flat and assembled on site, the fittings are chosen so they can be tightened again years later rather than stripping out on the second turn.
Glue is a bonding agent, not a structural fix. A joint that relies entirely on adhesive to stay square will eventually fail, because wood moves seasonally and adhesive does not stretch with it. Our joints are designed to hold mechanically first; the adhesive adds rigidity and seals the interface.
Frames are clamped and checked for square during assembly, not after. A frame that dries out of square can never be corrected — it can only be scrapped or sold to someone who will discover the problem later.
Stage 4: Sanding and Surface Preparation
Sanding runs through progressive grits. Skipping a grit leaves scratches from the coarser stage that stay invisible under raw wood and appear the moment the first coat of finish goes on, magnified by the sheen.
Corners and edges are hand-finished. Machines do flat surfaces well; they do not read the way a hand reads a rounded edge. Every piece passes through a hand-sanding station before it goes anywhere near the finishing booth.
Dust is removed completely before finishing. A single particle trapped under a coat becomes a permanent bump.
Stage 5: Finishing
Finishing is done in controlled conditions because temperature and humidity change how a coating flows and cures.
Wood surfaces receive multiple thin coats rather than one heavy one, with light abrasion between coats. Thin coats cure properly through their full depth; a thick coat skins over and stays soft underneath, which is why cheaply finished furniture takes fingerprints and dents long after it should have hardened.
Steel components are degreased, treated and powder coated, then oven cured. Powder coating bonds far more durably than wet paint and resists the chips and scuffs that office furniture accumulates around foot level.
Upholstery is built over webbing or suspension appropriate to the load, with high-density foam that recovers its shape rather than compressing permanently. Covers are cut with grain and pattern alignment considered, and seams are stitched to take stress rather than just to close the panel.
Stage 6: Quality Control
Inspection happens at multiple points rather than once at the end, because a defect caught at machining costs a component and a defect caught at dispatch costs a finished piece.
Our checkpoints cover:
- Dimensional accuracy against the drawing
- Squareness and stability on a flat reference surface
- Joint tightness and absence of movement under applied load
- Drawer and door alignment, travel and self-closing action where fitted
- Finish uniformity, colour match across components, absence of inclusions
- Hardware operation through repeated cycles
- Load testing on shelves, worktops and seating to the rated capacity
Anything that fails goes back rather than forward.
Stage 7: Packing and Delivery
A piece that survives manufacturing and fails in transit has still failed. Corners are protected, faces are separated with soft material, and glass and mirror components are crated separately. Assembly hardware is bagged, labelled and matched to clear instructions.
For commercial orders we deliver, assemble and place the furniture, then remove the packaging. Leaving a client with forty boxes and an Allen key is not a completed delivery.
Why the Process Shows Up in the Price
Every stage above costs money that could be removed. Skip acclimatization and build faster. Use thinner steel. Band edges without inspection. Spray one thick coat instead of three thin ones. Inspect once instead of six times.
The savings are real, and they are entirely paid for later by the buyer — in wobbling frames, swollen edges, sagging shelves and a replacement cycle measured in a few years instead of a decade. Furniture is one of the clearest examples of an item where the purchase price and the cost of ownership are different numbers.
Frequently Asked Questions
How long does the craftsmanship process take per piece?
It varies by product and finish, but the finishing and curing stages set the pace. Rushing cure time is the single most common shortcut in the industry and the one that shows fastest.
Is handmade furniture better than machine-made?
Neither alone. Machines deliver repeatable accuracy; hands deliver judgement on edges, finish and assembly. The best process uses both at the stages each does well.
How can I tell quality furniture in a showroom?
Lift one corner and feel the weight. Run a hand along the underside and the back edges. Open and close every drawer. Push down on the centre of a shelf. Quality is usually detectable in thirty seconds if you know where to put your hands.
Do you build to custom specifications?
Yes. Custom dimensions, finishes and configurations are available for commercial projects. Get in touch with your drawings or requirements and our team will work through the specification with you.